 |
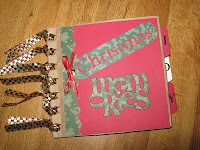
| 1st Attempt -- Christmas Album |
A couple of years ago I saw at a local craft store a sample paper bag book for which they were offering classes. Well with Christmas approaching I really couldn’t afford the class, but I did have a supply of scrapbook paper, embellishments, and some brown paper lunch bags I could use to try my own version of this idea. Well, that was then, and a year and a half later I have thoroughly enjoyed crafting these great gift ideas. I also have managed to sell a few to my friends who readily admit, crafting is not their thing! I have used different papers, depending on the theme I wanted to highlight, i.e., Christmas, Valentine’s Day, Travel. So for this first attempt I used paper I had in stock, a my tab punch, my handy Cricut machine and stickers and embellishments in my stash. To secure the spine of the book I punched seven or eight holes with a standard hole punch. For this first one I cut individual lengths of ribbon and slip knotted them around the holes. That didn't work so well, the ribbon I chose was rough and they want to frequently work loose. On future books I changed my strategy at the suggestion of a co-worker and have now started weaving a matching ribbon approximately 36 inches long once down through the spine and then turned around and wove it right back up the spine. At the top I then tied a bow. You can also attach jewels, beads, trinkets, whatever you want to personalize it. Here are a few samples of other themes.
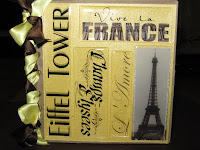 |
| Travel Album |
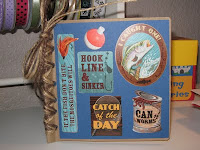 |
| Fishing Album |
I varied the themes and methods but the general idea comes through. For the fishing book I used two or three different colors of twine I had laying around, doubled it up and wove it through the spine. I also added a couple of small fish hooks. This is my son Nathan and his fiance Laurencie's brag book for when they go fishing.
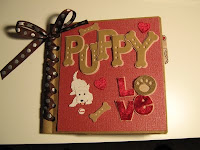 |
| Puppy Love Album |
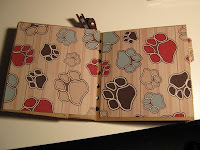 |
| Inside Pages Puppy Love Album |
This book is for a dog lover friend and former co-worker. The ribbon has little paw prints on it and I managed to find some paw print and dog bones papers for the insides. She loved her little Dog Album.
Recently there have been a number of friends, friends of friends, aquaintenances who have been diagnosed with cancer. I wanted to do something that would allow them to record this part of the journey in their life.
I came across these embellishments at JoAnn’s, themed around cancer. Surely that sounds a little weird, but it gave me an idea…here is a sample of what I gave my friend.
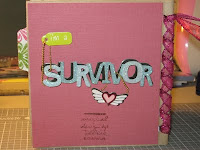 |
| Back of Album |
To these survivors I take off my hat. You are exceedingly strong and I admire you.
If you are looking for a simple, imaginative, way to treat someone with a special gift that will help them store their memories, this is a perfect little project. Until next time... Imagine, create, enjoy!


