Showing posts with label Gift Card Holders. Show all posts

Friday, January 20, 2012

Birthday Cards

Earlier this week I shared some gift card holders I made for upcoming birthdays.  To complete those gifts for the niece and nephew I did matching cards to go with them.  The card on the left is for my nephew.  I continued the rock and roll theme with some of the leftover scraps from the Rock and Roll paper.  I mounted that on some matching turquoise blue paper and mounted that on white card stock.  I then used another piece of the turquoise paper, cut a frame with a Spellbinders die, stamped the words You Rock on it and used black embossing powder to make it pop.  I mounted that on the flip side of a scrap of the Rock and Roll paper and then cut out one of the guitars from the scraps from the giftcard holder paper and mounted it on the tag with foam pop dots and then used pop dots to mount the sentiment on the front of the card. 

Nephew's Card


For my niece's card I used some of the leftover paper with water lilies on it, mounted on lavender paper and then on white card stock.  I used my Sizzlets Decorative Label die to cut a sentiment block on purple card stock.  I stamped Happy Birthday on it in purple and embellished with some green pearls.  Because this paper had some sparkles in the design of the paper I didn't add much extra bling. Both cards have birthday wishes stamped inside.  Here is each card with the matching gift card holder ready to be sent with their gift cards tucked inside.


Niece's Card


Catch you next time.  Until then, Imagine, Create, Enjoy!


Monday, January 16, 2012

Birthday Gift Card Holders

Well the holiday's are over and the new year begun and now starts the rounds of birthday cards, and I'm just talking about my family!  This month we start out with a niece and a nephew just a week apart.  During the Thanksgiving weekend sale I picked up a new pocket die from Sizzix on a deal I just couldn't pass up, about 70% off.  I loved the original selling point of the die which was for Christmas gift cards.  Unfortunately, I didn't get around to making any of those for the holidays.  It is an extended die which required an extended crease pad which I could not find anywhere in town so had to send away for it.  Since I didn't get that ordered until after Christmas, I decided to use the die for my upcoming birthday gifts.  The first ones are for guys, I had some rock star paper and some paper with guitars on it by Best Creation, Inc., what a perfect paper background for a guy gift card.  The paper with the guitars I used for the one of the holders didn't require much additional embellishment as it was glittered up, so I just added a party hat from my Doodlecharms Cricut cartridge in complimentary colors.  Since the embellishment was really a tag, I added a sparkly silver brad on one and a charcoal black on the other one.  The only thing to remember when working with paper with lines and a definite pattern direction is to make sure your paper is going in the correct direction when using the die!  I also decided to make a envelope to go with the guitar gift card holder.  It is not one you would be putting in the mail, rather hand delivering it to the recipient.  I used my Plaintain Schoolbook Cricut cartridge and cut the envelope from the rock star paper.  I attached a small tag in the upper left corner to write the recipients name.


I then made a couple more in just solid colored blue and neon green paper.  I used the Happy Birthday embossing folder by Cuttlebug and added the party hat embellishment cut on my Cricut.  On the blue card I spritzed some silver Perfect Pearls to make the paper shiny and to match the silver glitter paper on the back part of the card holder.  I left the green one kinda plain, still embossed and spritzed the hat overlay to give it just a little pop.  I didn't want to go to overboard on the glitzy on these solid colored ones figuring they could be for either a guy or a gal.  If I do use one for a gal, I'll just add a little bling to jazz it up.


For the girls gift card holders I went with some floral papers I had from K&Company, the Susan Winget collection.  I've gotten such a great amount of projects from these paper pads it's just amazing.  For the green one with dragonfly's I added some paper embellishments after embossing the folder with the Happy Birthday folder.  Ont the blue folder I used an embellishment and added a small tag with a little bling.  For the last one I used some of lilies paper from the same pad, added some of the coordinating puffy embellishments and a small lavender tag with a green pearl brad for the recipient's name.


I can see gift cards holders for all sorts of holidays and occasions in my future!  Imagine, Create, and Enjoy!


Friday, May 13, 2011

Gift Card Holders

Last fall sometime, I was surfing the net and found a cute little StampinUp! tutorial on some easy as pie gift card holders (I don't recall the blog or video offering, sorry).  I thought I'd give it a try since I had lots of scraps left over from my journal gift making marathon!  The paper scraps were mostly from Christmas pads but some of the patterns and colors were generic enough they could be used for general gift card holders.  I have altered the original design.  That demonstrator used solid card stock with patterned paper on the flap only; I used patterned paper mounted on card stock for the entire card holder.  
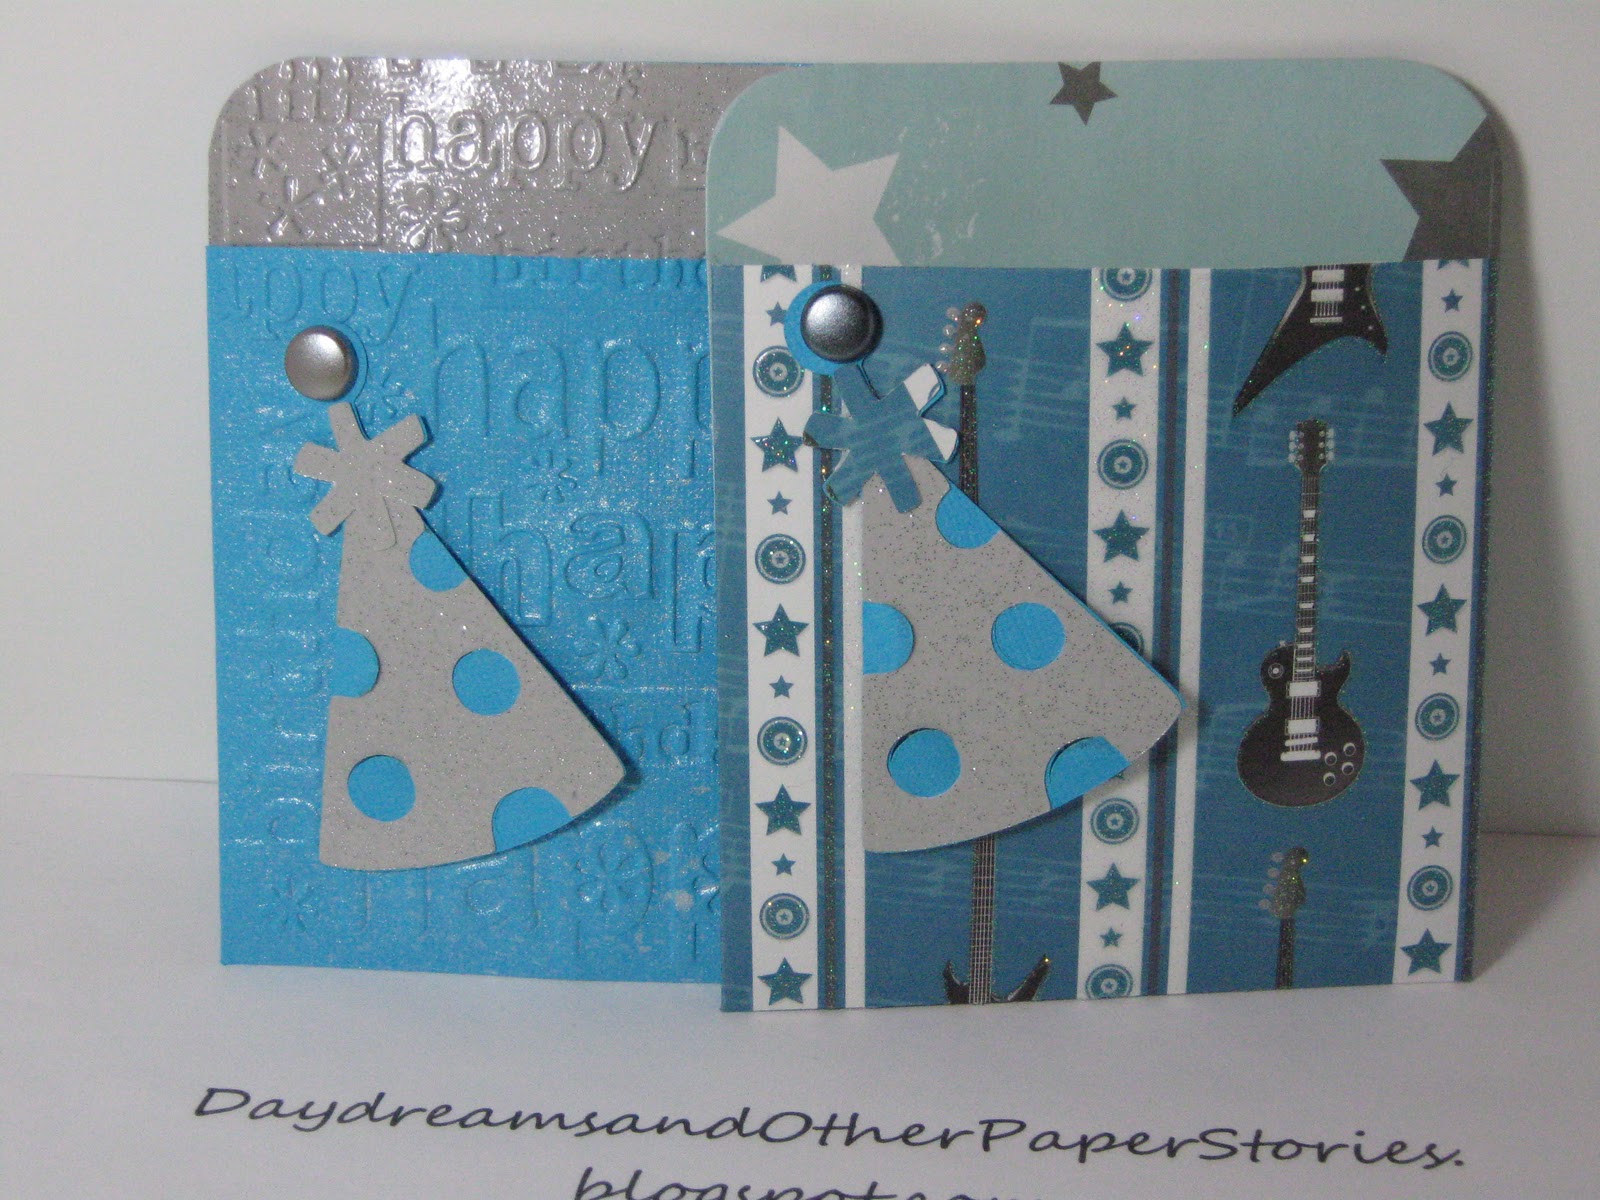
The measurements are approximately 7-5/8” long by 4-3/4” wide and then scored at 1-3/8” and 4-1/2” to provide the cards folds.  They use a standard 4-3/8 x 5-3/4 inch envelope, sealed and cut in half, which provides you with two pockets.  These are glued together back to back and then glued to the card stock.  One half of the envelope holds the card you see below with your sentiment on one side and blank on the other side to personalize and the other half of the envelope holds the gift card.

On the outside you cut 3 pieces of solid card stock, patterned paper, and then your other solid card stock for stamping your sentiment or decorating as you see fit with stickers, etc.  In these samples they have Christmas holiday sentiments stamped on them.  I then glammed them up with some Stickles and some bling. Once completed, this block is adhered to the lower front of the front flap with pop dots to make it stand away from the background.  It functions as the piece that holds the flap in place once you have put the sentiment card and gift card in the envelope pockets.

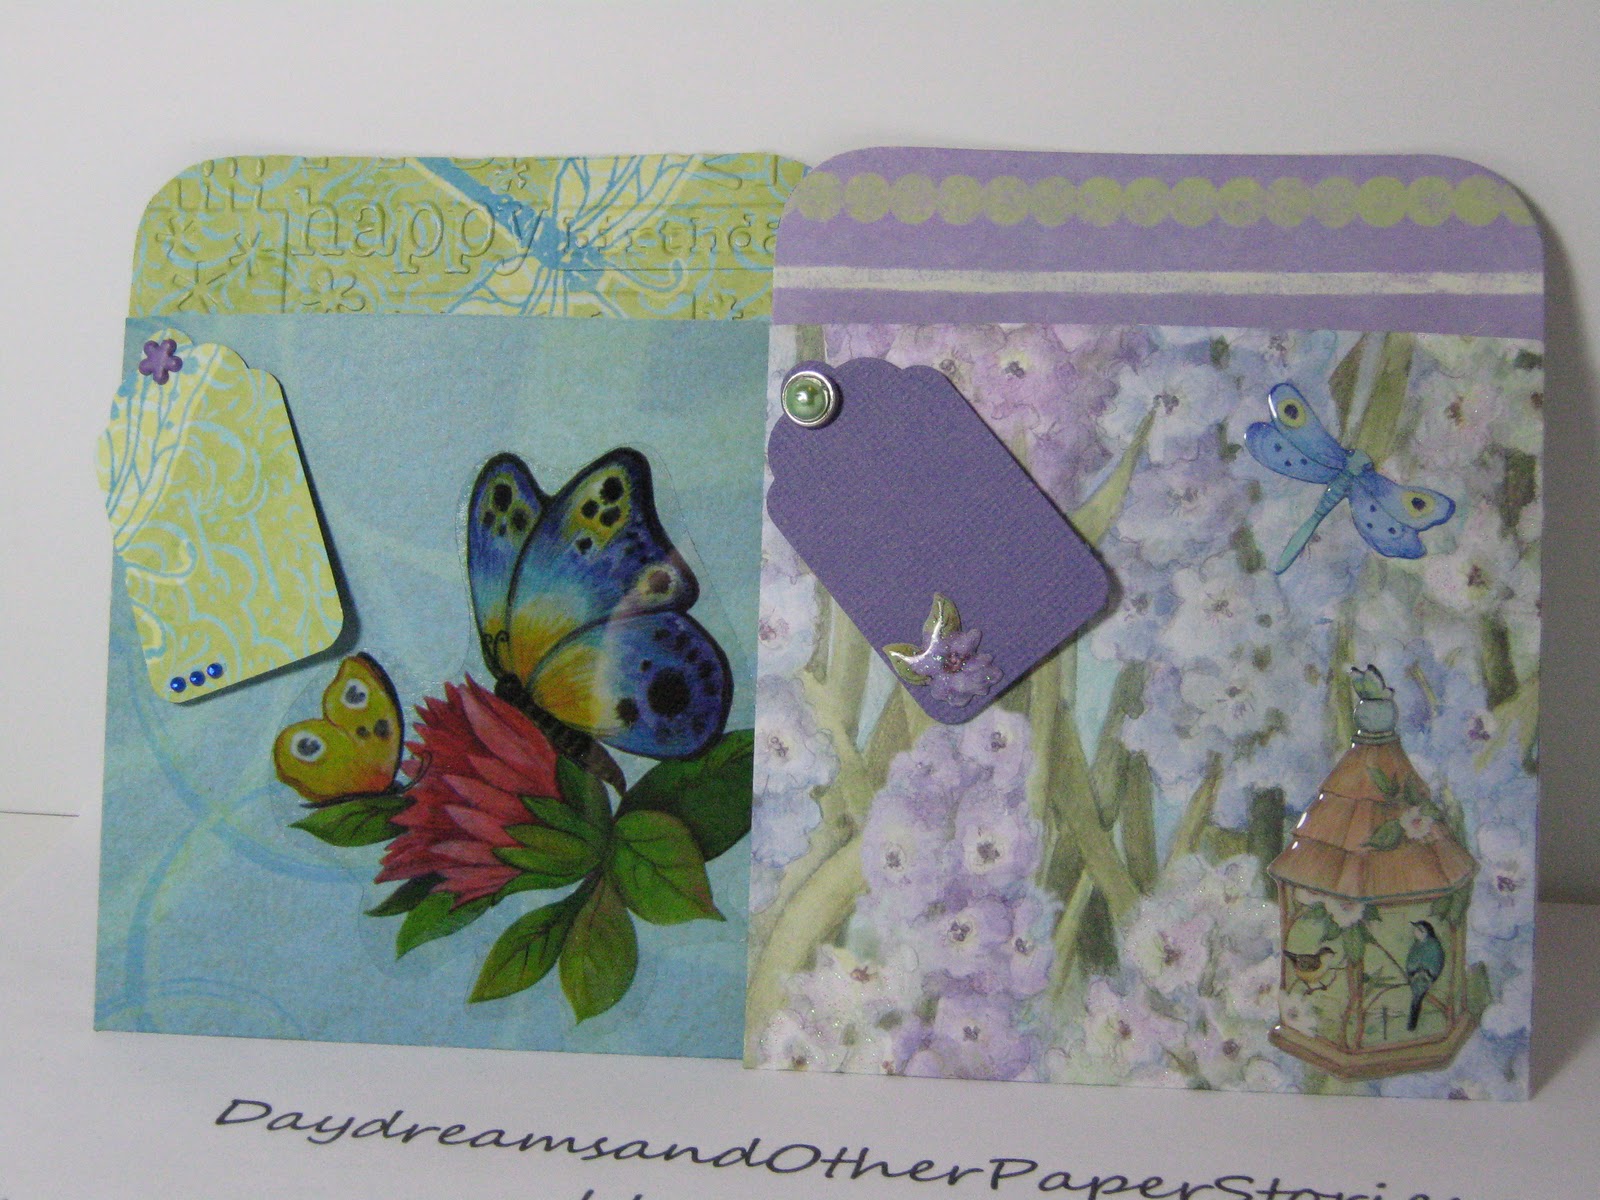
The last card is more generic, although the papers, as noted above, were from a Christmas paper pad.  This one will be used for a thank you gift for someone.  These are handy little gift card holders and can be adapted for most any gift situation.  I showed them to a friend who made some for her BUNKO gifts when it was her turn to be hostess. 


Thanks for visiting today.  Imagine, Create, Enjoy.