Showing posts with label Cricut. Show all posts

Friday, April 18, 2014

Headbands

My daughter-in-law Dana found here an idea on Pinterest for an elastic headbands station to have at her shower.  She liked this idea because it allowed the guests to personalize something for baby Laila during the shower.  I set about figuring out how to get it done! After visits to JoAnn's, Michaels, and Hobby Lobby I found all the requisite supplies mostly on sale.  Luckily the main part, the stretchy headband materials was sold by the spool at Hobby Lobby and I caught it on a sale day.  I was able to pick up about six different colored spools and ended up getting about six headbands per roll.  I cut them in about 12-14" lengths and sewed the ends together.

In addition to the headbands I picked up matching colors of felt, fabric flowers, pre-made bows, jewels, small butterflies, and small button shapes. The flowers were different colors and patterns (polka dots), different styles (zebra print), mostly daisies, and some other flowers.  I took and pulled off or cut off the flowers from the stems and then hot glued them on the bottom to make sure the centers and the flower layers stayed together.  When I looked at putting them on to the headbands though I felt they weren't going to lay flat on the headbands and would be too heavy for the headbands.  I looked at the original idea and saw some felt circles in the example so went back and picked up some matching felt.  I took my Tim Holtz Tattered Florals die and cut the felt using the largest flower on the die.  I cut about 6-8 of each color so they could be used to glue the flowers on and then glue on to the headbands.

So we set up a separate area at the shower with hot glue guns and all of the different components laid out on the table and told everyone at the beginning of the shower where everything was located and invited them to make their way into the dining room to create their own special gift for baby Laila.

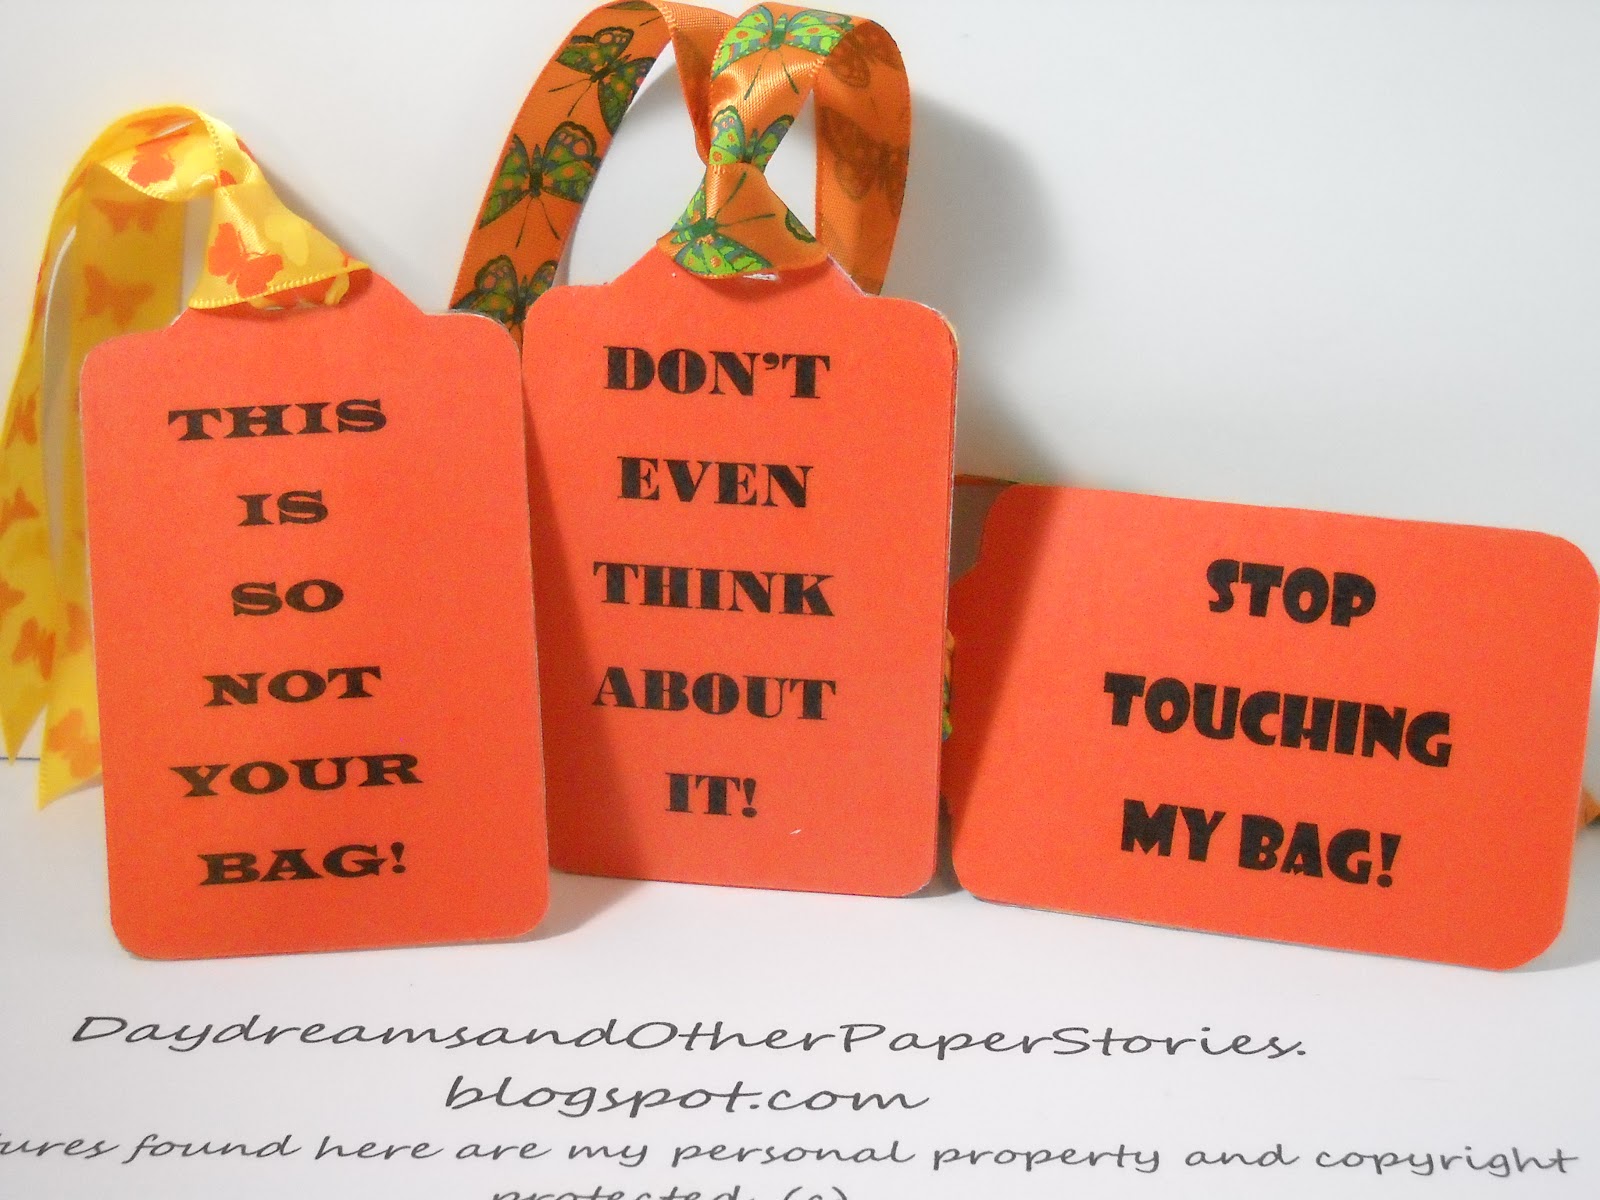
To make sure Dana and Kyle knew who had created each of the headbands, I cut tags with my Cricut and cut 12" lengths of thin ribbon (1/8" wide).  On each of the tags I stamped the word From: on one side and then asked each Guest Headband Designer to sign their creation and tie the tag to the headband they made. The guests were eager participants and enjoyed creating some really pretty headbands for Laila.  We can't wait to see her wearing each and everyone of the gifts.

Here is a group shot of all of the completed headbands.  They really turned out nicely. She will be quite the styling little girl!  Keep on Imagining, Creating, and Enjoying every day!


Wednesday, April 2, 2014

Butterfly Fairy Wands!

My late friend Jayne was a wonderfully creative person who was inspired by the most unusual things and made some really beautiful and unique paper pieces. One of the things she had made was a decorative item for her niece's baby shower, shown here.  It is a butterfly fairy wand!  She had a butterfly die she used to create the base for the wand using some chipboard which she then covered in scrapbook paper on both sides.  Once she did that she cut some rosettes with the Tim Holtz rosette die. This die has two sizes of rosettes, pre-scored so all you do is cut with your Sizzix or Vagabond and then crease and glue together.  The die even has a circle to cover your glued spot in the middle of the rosette.  She put one rosette on each side of the butterfly.  Before she affixed the larger of the rosettes, she painted the stick a silver color and then wrapped it in some ribbon we found in the dollar bin on one of our craft shopping lunches.  She also backed the larger rosette with some of the ribbon and added some ribbon tendrils.

I loved the idea and have used it as inspiration to create my own set of fairy wands for Laila Olivia's baby shower.  The butterfly die I have is a little different in that it is more solid with only a couple of cut outs on each wing.  I decided to go with a (what else) heavy, pink glitter card stock for my butterflies. Liking Jayne's original idea of rosettes I did a reverse to her design and made the rosettes larger than the butterfly by using my Cricut and the Ribbons and Rosettes cartridge and cut these large rosettes with a small heart border. I then cut the smaller rosettes with the Tim Holtz die and used the smaller one on the front of the butterfly.

For the wand portion I used pre-cut dowels in 12 inch lengths you can purchase at any craft store.  I then painted them in a pearly white paint I had leftover from my "Grandkids" project.  I then grabbed a number of different rolls of ribbon from my stash...mostly pinks and browns, some I had also picked up to match the polka dot theme we had going on the cake ribbon and started cutting different lengths.  I hot glued 5 of these differing lengths to a small 3" strip of ribbon and set aside.  Once the paint on the wands was dry I wrapped each wand from top to bottom in a variety of ribbon allowing some of the pearly paint to show through.  


Next I hot glued the ribbon band to the back of the butterfly and then hot glued the wand on the back as well.  Once dry, I hot glued this piece to the large rosette and let them set.  I had picked up some brads, a variety pack of approximately 3/4" size in two shades of pink.  I took the brads and snipped off the prongs on the back with my wire cutters and then hot glued the brad to the top of the small finished rosette.  The brad became the center of each rosette.  Finally I hot glued the rosettes on to the front of the butterflies.


Here is a close up of my finished "Fairy Wands."  I made enough to use as part of the decorations at the shower and once the shower was over my daughter-in-law kept some for Laila's nursery and the rest were given to their nieces who attended the shower.  I'm very proud of my little creation!  They were fun to make and share at the shower.


Go on, Imagine, Create, Enjoy!

Wednesday, March 26, 2014

Shadow Jingle Boxes

I found the post for these Jingle boxes on Pinterest and when I clicked through it came from here.  I wanted to replicate the idea for Christmas gifts for family and friends.  I pretty much followed the picture as it appeared in the original post.  I made almost a dozen for various friends and family members.  They are a cute addition to Christmas decorations and can be specialized in color, background and the colors of the bells to coordinate with any decor.  When the original one was done the crafter utilized a smaller frame from IKEA.  Truth be told, I didn't really look at her directions until I started writing this.  I just took the picture and ran with it but on a larger scale. My frames were the 8x8 frames you can pick up at craft stores.  I picked these up at Joann's with a 70% off sale.  Around $4 to $5 I believe.  The original design just used a patterned piece of scrapbook paper and a pre-cut sentiment from Stampin Up!  I utilized my Cricut and ran the letters through my mini Xyron to apply adhesive to the back. I started with the same sentiment but after a couple decided I needed to change things up.  I used patterned paper with Christmas trees in the background and added snowflakes next to the words on this first one.  I also wanted to utilize the various colors of jingle bells available during the holidays, so opted for red and silver in the first box and some green gold and red in the second box.


Because the frames came in white, I left them that color.  My biggest challenge was finding ribbon the right width to go around the frame.  Well, there wasn't any.  I believe the frame is 1 1/4 inch wide, all of the ribbon I could find during the holidays was 1 1/2 inch wide, so I went with it.  It means there is a little bit of over hang around the edges but it looks good.  I also chose wire-edged ribbon as I wanted the bows to stand up and be able to be shaped and formed.

Once I got the first couple of boxes done I decided to go with some different sentiments, thus the boxes that follow.  I had some paper with sleighs on it so highlighted that image in the lower corner and tucked in some red, white and silver bells along with glittery red letters.


For this one the background paper is of candy canes and gingerbread men, sugarplums and all the associated words and images that go with that thought...thus the Visions of Sugarplums title for this box.  Once they were completed, I added a light spray of glitter to them to punch them up just a bit.  These pictures don't do them justice and it is difficult to see the bling...but it is there.


There are still a couple sitting in my closet to be delivered to some friends.  I hope they like them.

Until the next time, Imagine, Create, Enjoy!


Thursday, July 4, 2013

Grandkids Picture Project

I pin from Pinterest...I know, not an unusual thing to do these days, but I decided I needed to actually do some of the projects I had been pinning!  A friend's birthday is coming up and I wanted something special for this lady cuz she's pretty special herself.  I found this pin here.  She has a 5 children and 7 grandchildren all of which are her pride and joy.  I thought it would be great to recreate this project for her.  My disclaimer as I start this post is that I have not used my Cricut to cut anything other than paper..so for my first foray into other mediums I decided to do vinyl.  Why not do it up right the first time!  I made a trip to JoAnn's Fabrics with my android phone app and the sales flyer's...and lucked on a sale on the Cricut items along with an additional amount off of the total purchase!  Yay for me!

 So I picked up a roll of black vinyl as well as clear lifting vinyl!  It is a must if you are doing words or sayings! It lifts your cut letters in the position you cut them so your alignment on your project should be perfect!  I also had not yet downloaded Cricut Craft Room to my laptop!!! Why oh why did I wait so long!  It was so easy to use and much easier I must admit than my other Cricut software.  Once I found a font that I liked and for which I had the cartridge I set about designing the words and the layout.


I'm not a person that likes to "fly by the seat of my pants" if you will when it comes to designing stuff!  I like to have the dimensions, and know what the sizes are of the things I am cutting...but since I was working with a different kind of project I did some practice runs with the font size and spacing using papers that I didn't like...you know the ones that come in those paper packs and you're really not sure why they chose that pattern!  Once I liked the size of the letters I cut the first word...Grandchildren.  I was on pins and needles when I got ready to lift the letters...the vinyl requires some working with it to get the letters to lift correctly from the mat...the handy dandy little Cricut tool set was a lifesaver.  There are also very detailed instructions in the vinyl package you purchase.  Once I got the word lifted smoothly I laid it out on the board.  I had previously painted the board using Martha Stewart pearl paint as my base (2-3 coats) and then putting on a brown paint and wiping off most of it...I wanted the distressed look for the wood.  I the laid down the word Grandchildren using the clear lifting vinyl/paper and then rubbed the letters down.  It is very similar to transferring any type of letters like rub-ons...you gently work the vinyl with the stick to smooth it out and get it to adhere to the wood, then you slowly peel back the lifting vinyl/paper and presto, it's all nice and neat.  I decided I wanted a different color vinyl for the second row of words so back to JoAnn's.  This time I got the variety pack!  Yes there is a variety pack of vinyl...it comes with about 7-9 different colors in smaller sheets. I used brown for the second set of letters and following the same process set them down on the board.

I had picked up eyelet screws and screwed two of them into the board along the bottom edge.  I wanted them in the board before I put layers of Mod Podge on the board to secure the vinyl. I then put on Mod Podge, about 3 layers.  I wanted to make sure the vinyl was not going anywhere and I wanted to protect the project as well.  Once the Mod Podge dried I put two hangers on the back of the board through which I tied the pretty brown floral print ribbon and tied in a bow at the top.  I then tied a piece of jute cord I had in my stash to the eyelet screws and started adding the other embellishments...the bling at the top next to the word Grandchildren on both ends, the flowers, the butterfly.  I had picked up small clothespins to put on the cord to hold the photos, that was my intent in following the original pin; but when in Michael's I found in the dollar bins these really cute little rectangular and heart shaped chalkboards attached to clothespins.  I used these instead and I think they add a nice touch to the project and make it more personalized.  Sometimes those chance finds at the craft store are the best finds!

I wrote each of my friends grandkid's names on the chalkboards, rectangles for the boys and hearts for the girls.  I used a gold fine tipped pen...I couldn't find a white one. For illustration purposes I just added pieces of scrapbook paper to represent where the kids pictures would hang.

We had dinner last night and I gave her the gift.  It was a big hit, and I am wonderfully pleased with the end result!

Until next time, Imagine, Create, Enjoy!


Monday, October 22, 2012

Wreaths

Hi there, it's been awhile...there have been big life happenings in my little corner of the world, but finally feel like I'm getting some of my time freed up again.  I have a small group of friends who try to meet once a month for a craft night.  It's a pretty eclectic group of ladies with a wide variety of styles and tastes.  We started the group to encourage ourselves and each other in our crafty pursuits.  We wanted to specifically set aside time for ourselves, visit and touch base with each other and hopefully accomplish something during that two hour window, one night a month.  We have no set rules, we don't require everyone do the same project, we put out suggestions and usually bring our version of the supplies to create our project.  Something unique and different for each of us.

Have we been successful you may ask?  Depends on how you rate success!  Have we met every month, nope...but in the months we have met, we have done what we set out to do, we've visited, crafted, and most every one of those times, made something new or different, something outside our comfort zone, something we'd seen on Pinterest or somewhere else and wanted to try, and done it with enthusiasm and most importantly...enjoyed ourselves.  For September's evening everyone decided they wanted to make wreaths.  Because we don't have strict rules or a set format everyone did something a little different.

I have a lovely Fall wreath that I had made a few years ago so decided to focus on a wreath for Halloween.  My design utilizes a couple of different design ideas I had seen on Pinterest.  I tried to use only supplies that I had at my house but ended up buying a couple of items as noted.  The first idea was to use wire insulation tubing from Home Depot (.97 cents) to create the wreath.   I cut the tube to the length I needed to create approximately a 15" round wreath.  I duck taped the ends together and then wrapped the entire wreath in black tulle.  I found some black 1/2 inch wide ribbon with glittery dots in Halloween colors at JoAnn's and wrapped that around the circumference of the wreath.  I found the same kind of dotted ribbon in 2 1/2" wide and made a bow for the top of the wreath.


The oval at the top was cut from an old file folder 2 times (recycling at it's best!) and covered in orange paper.  I used a strip of black paper and my Martha Stewart Drippy Goo punch to have some black goo dripping from the top of the oval.  I bought "eeire" words from K&Company, this one says Boo! and has a bunch of glittery, swirls and such.

For the main part of the wreath I decided to go with rosettes!  My eyes are always bigger than they should be and I don't often take into account all the work involved in the particular design I've decided on.  I folded a lot of rosettes!!! Lucky for me I had the Tim Holtz rosettes die and the Ribbons and Rosettes Cricut cartridge which had a rosette pattern with spiders on the edges.  This helped a lot!  I used a variety of patterned Halloween paper I had at home as well as plain card stock in the standard Halloween colors, purple, black, orange, grey. After cutting all the rosettes I folded and glued and folded and glued, and folded and glued some more...you get the idea!  I started arranging the rosettes around the wreath, stacking and hot gluing.  I found a small bag of colorful little spiders that I also added as accents.  I then had enough of the 1 inch dotted ribbon left to make a hanger which I looped around the wreath and tied in a bow at the top.


Fun times!  Cya later!  Imagine, Create, Enjoy.


Wednesday, May 30, 2012

Threaded Card Toppers

Over the weekend I worked on some threaded card toppers.  Many, many thanks to my friend Cathy over at Scrappin Cat's Creative Endeavors for the Cricut cut file which she created and showcased here. Her blog title indicates a Pazzles file, but bless her heart she also made a Cricut cut file which she graciously shared.  I am always looking for ways to use up my paper scraps...my mother was raised during the Great Depression where you used and reused everything, what can I say, waste not, want not.


These are my first two attempts which I did horizontally.  The patterned paper is from K&Company, one I have shown before on my blog, I added some bling on the front and the papers have some glitter already so I think they turned out nicely.  I left the insides blank for the recipient to write her own notes.


The next one was done vertically.  I added a butterfly to the one on the right and added a swooshie with some dots as accents.  On three of the four cards I did a layered sentiment tag and then mounted that on pop dots.  I added some bling to the bottom of two of them.  I used cream card stock for the backs and used one of the patterned sheets in the paper pad for the background paper.

And finally, I decided to do a couple of these with ribbon.  I had some ribbon I'd picked up in a grab bag over at Stamper's Corner and decided to use it.  I chose white card stock for these and once threaded with the ribbon I mounted it on a lavender card stock and then mounted all of that on a white A2 size card.  I chose the lavender background paper scraps to cut a small sentiment block and made a thank you card.  After stamping the sentiment I inked the edges and mounted it on pop dots before affixing it to the front of the card.  I added a couple of the butterflies from the sizzlet to the top of the front of the card, added a quick sentiment on the inside and called it done. 

The next one used the same ribbons only in reverse order with the darker purple ribbons on the outside and the green one in the middle.  For this one I picked a darker purple to mount the threaded layer on and for the larger tag and mounted a lighter green (to match the ribbon on the front) on top and stamped my image and added some darker green bling above and below the sentiment.  I used my Spellbinders die for these tags.  Again I raised this one with pop dots to give it some dimension.  I left the inside blank.  

These were fun, easy and best of all used up scraps!  See you next time!  Imagine, Create, Enjoy.


Sunday, May 27, 2012

Baby Shower Cards

As I mentioned in a previous post, busy month for us with celebrations, including a baby shower and a couple of other babies being born to people we know.  I was surfing some blogs recently and saw this cute idea for a baby carriage card at MaggieMadeCards.  (I've tried the website, but it says it's currently not available, sorry.)  I'm trying to utilize my Cricut so I can learn all the wonderful things it is capable of doing.  When I saw this card I figured it would be a good project to hone my Cricut Design Studio skills. When all done, I had created my own little cut file!   

The first card I did was for my son's boss whose wife had delivered a baby boy.  I chose to make it with bright primary colors, blue and red since it was a boy.  I didn't get pictures of it before he gave it to the boss, but I had made a second one so he had a couple of options to pick from.  For this one I chose a burgundy colored paper for the carriage and a gold colored card stock to accent it.  I wanted something a little different than the traditional boy/girl blue/pink options.  I embossed the bottom piece of the carriage insert with a bubbles or circle embossing folder and used a texture plate with squares on it for the smaller piece on the top of the carriage.  I chose three small brown buttons and laced them with some brown and tan bakers twine I had and threaded it through the buttons.  I chose an ivory oval and stamped special delivery on it and used pop dots to give it some dimension.  For the inside I used another half circle of the gold card stock and stamped a lovely baby sentiment on it.

This next one is for a girl...now I've flipped back and forth on the color scheme idea and decided to go with a lavender baby carriage and pink accents.  I've embossed the lower half of the carriage front insert with a small flowers and the carriage cover with Swiss dots.  I added a matching lavender oval to the front with the word baby in blocks stamped on it.  I added white pearls to the inside of the carriage wheels and used my Stampin Up! butterfly sizzlet to punch out some little butterflies for accents.  I dropped two on the carriage cover and one on the carriage handle.  On the inside I stamped my sentiment in a pretty purple ink to stand out on the lavender card stock.

This idea can be done is so many different colors (think pro sports teams) and even some patterned paper for the inserts which would make a wonderful option! 

Go on...Imagine, Create, and Enjoy!

Saturday, May 26, 2012

Patriotic Banner -- Remember

I've been seeing banners for some time on different blogs and have been wanting to make one but never getting around to it.  Decided to change that this weekend.  I used my Cricut and my George Basic Shapes cartridge and cut some stars.  This cartridge has one icon that has slots in the image.  I decided to use that one to make the base of the star and then cut smaller shadow stars and silhouette stars in alternating colors.  I used red, white and blue in honor of our Memorial Day holiday and I figure I will flip it and use the other side for the 4th of July holiday in another month.  I decided to alternate the colors of the stars and my constant color was the silhouette star which would always be in white.  I cut the large base in alternating red and blue and then the shadow star that went on top in the alternate color.

I chose the word remember for Memorial Day as that is the reason for this holiday...to remember the sacrifice of those who have served our country, who have gone before, who have bled and died for our freedoms.  I cut the letters for the word from the same cartridge.  The "R" and "B" letters have a solid mat background which I sprayed with some Perfect Pearls in silver.  I also sprayed the solid stars with the Perfect Pearls before I glued the silhouette star over the top of it.  I tried to get a pic of it here to the left so you could see the glitz.  At the points of each of the stars I put some bling, red and blue rhinestones to match the background star and the letter on each star.  Then I found some clear or white star bling and added those as accents to the letters to make them pop a little. 


As you can see from this next photo I picked up some red, white and blue grosgrain ribbon at Jo Ann's to thread through the back of the stars.  There are eight stars on this banner and the largest star is cut at about 7.69 x 7.34 inches.  I then scaled down the inserts so there was a nice border on the base around each smaller star.  In order to have enough ribbon and the ability to tie a bow at each end I bought 3 yards of the ribbon.  I strung each of the base stars onto the ribbon and then spaced them out a little, once I had them on the ribbon I affixed the top stars on with glue dots.  I didn't want to use adhesive as I wanted to be able to slide and adjust the stars location as was necessary.  I may have to add a few more glue dots though as they seem to want to pop off of the background star. 

I plan on hanging ribbons with pics of my sons and my future daughter-in-law who all serve as reservists in the Navy and Army National Guard respectively.  As my oldest serves his country right now in Afghanistan, we pray for the safety of all of our enlisted and retired military personnel and offer our thanks to them and their families for their service to our country, both at home and abroad!

Until next time, Imagine, Create, Enjoy!  Happy Memorial Day! 

Friday, May 18, 2012

Bridal Shower Card

Spring, early summer...the time for Mother's Day, Father's Day, weddings, graduations, babies....it seems like we are experiencing all of them this year.  Last weekend went to my first bridal shower this year.  I wanted to do something special for the card and use my Cricut machine.  I have the Tie the Knot cartridge so figured I could come up with a pretty cute shower card.  Opened up my Cricut Create software and got to work.  The bride to be was registered at two places...Target and Fredrick's of Hollywood!  New, first time bride so this was going to be fun!!!

I decided to go with the lingerie theme for the card and chose the corset for my card.  I chose the outline image and copied it and then flipped it and melded the two pieces together.  That was my card base.  Then I did the layers.  The card is cut to about 5" high.  If you want exact measurements, send me an email!  I had found a You Tube video using this image so I just modified it for the layers and created all of it in a cut file.  The bride's colors are purple and green.  I chose a deep purple for the card base and then a sparkly blue for one layer and finally a piece of scrap from what's left of my Susan Winget Botanical paper pad and cut the overlay.  It is a combination of purples, greens and other floral colors.  I had to play with the corset top layer some to get the exact image size down, but the finished product was definitely worth it. 

After assembling all the pieces together, I added three pearls to the button holes on the front and then added some bling along the top edge of each leg.  The shimmery layer of light blue paper and the little bit of bling made it pop nicely. 


For the inside of the card I used the exact same layer but cut it out of a lighter lavender card stock and layered it on top so I could stamp the sentiment.  I inked up the edges with some purple ink and added the sentiment.  The sentiment says: True love stories never have endings.  Great sentiment for a new bride.  I also added a little stamped duo of hearts on the top right and a little bling on the curly Q at the bottom. 

Turned out quite nicely and the bride was tickled with it too!  That's probably the greatest feeling as a crafter is to have one's work appreciated by the recipient! 

I decided to make a gift tag to match the card.  The Tie the Knot cartridge is set up with a whole tab devoted to tags and they mirror the larger projects.  I could have done a corset tag but decided on the lips cutout.  I cut the tag in the dark purple to match the card base and then layered different colors of purple and even chose a sparkly paper to make the lips look glossy!  This cartridge also has a lovely swirly letter alphabet, so I cut a "T" the bride's new last name and placed it on the bottom of the tag.  I inked up the edges with purple ink and put a grommet in the whole and laced it up with some glittery ribbon.  Sorry the pic is a little blurry.

Thanks for stopping by today...hope you enjoyed today's offering.  I love hearing your comments, so please leave one.  Until next time, Imagine, Create, Enjoy.

Sunday, May 6, 2012

Dates to Remember Card File

I have finally finished my card file.  I first saw this idea over here.  Cathy had been inspired by a Pinterest pin and I just lifted that idea.  For my card file I decided to use some pretty floral papers...it will be a gift for a friend.  I used papers from the K&Company Susan Winget collection.  She has some really great papers.  I pretty much used the original ideas as they were, with a few exceptions.  I chose to use my Cricut to cut the word Celebrate in purple and layered green under it for the backdrop.  I had some small sentiment stamps and decided to stamp them on white paper to indicate different occasions for which cards would be needed.  I mounted them on a larger circle of some of the leftover scraps from these pages.  I then scattered them over the front of the file around the word Celebrate. 

Another thing I did a little different from the original is I cut some reinforcement rings using my Cuttlebug tag die.  For these I also used leftover scraps.  I was really successful in using most of the scraps from the papers I had chosen for the project.  After covering each of the envelopes for the twelve months, I also covered the inside and outside of the envelope flaps as well.  I used the two hole punch to punch the holes and then used the reinforcements on each page to add some substance to the ring holes.  It will help with the wear and tear when the file is opened and closed frequently. 

I chose a font in Word and printed the twelve months of the year on white card stock.  I allowed enough room between the months so I could utilize my other Cuttlebug tags die to cut out the month tags.  This die has some ornamental embossing on it so it spiffed them up just a little.  After centering the months on the die and cutting them all out, I chose to ink up the edges with purple ink to make them pop just a little bit more and affixed them to the envelope flap.  Just a note here:  If you ink the edges of the tags, make sure you blot them or they will bleed onto the lined cards that contain the dates for the month. 

For the dates in the month I used Word again and created a two column table and numbered the lines 1 through 16 for the first half of the month and 17 through 31 for the second half of the month.  I printed the tables and cut them down to size to fit on the inside of each envelope.  Each month of the file is one envelope, and the back of each succeeding envelope is the 2nd half of your month.  The way the file is put together you need to have two sides to put the tables of the dates for the halves of the month on each side, because the last month is the last envelope I needed a back to the card file.  I used an old cereal box and cut two 6 x 9 size pieces and fastened them together with my tape runner, the patterned sides facing the middle.  After that I took the remaining piece of 12 x 12 card stock and backed both sides of the card.  This became the back of the card file. 

I used some green colored rings I had picked up at the Scrapbook Expo back in October.  I added some ribbon to them to match the colors of the papers.  I chose not to add dimensional embellishments to the pages or to the cover as I don't know if the recipient will carry it with her while out and about or if she will leave it at home.

I think it would be a great idea if giving this as a gift I was to include a couple of different cards for the recipient, say a baby card, wedding card, or a birthday card. Hope you enjoyed my take on this great project.  Imagine, Create, and Enjoy!

Sunday, March 18, 2012

Magnetic Bulletin Board

A small group of gal friends gather once a month to craft and share ideas.  Our March meeting was fast approaching and we were looking for a project and recently while perusing Pinterest I found this lovely project here and suggested it as our project for the month. It is a magnetic bulletin board using a standard cookie sheet, patterned scrap booking paper and cork board.  The instructions given at the Scrap Yard Chicks website are very thorough and she provides a complete supply list as well. 

What was nice about this project was that I had the majority of the supplies at home, I just had to pick up a cookie sheet, cork board, and some magnets.  The dollar store was my quick stop for the cookie sheet and while there I found some butterflies for what else a $1.  There were 3 in each package and various colors so I picked up a couple for my stash.  I tried the office supply store for the cork board and ending up finding it at Michael's.  They had a pack of 4 -12" squares which ensures I have extra pieces of cork board for other projects that I'm sure will come up. 

I'm not going to go into all the details of the making of sheet as you can find them over at the Scrapyard Chicks, but I will explain my changes to their design.  The sentiment across the top of the cookie sheet can be changed up to whatever you want, thus allowing many variations on this idea.   I decided to use my Cricut machine and the cartridge Graphically Speaking and chose the words "Life is Good."  I liked the idea of counting my blessings and having a positive statement on my board.  I cut one in black card stock and then a pink pearlized card stock at the same size.  I then cut a mat from a sheet of Tim Holtz' Grunge paper, more lightweight than chipboard but with some substance.  I mounted the pink on the grunge paper and inked up the edges with Tim Holtz's Vintage Photo distress inks, then added ribbons and buttons on top of some of the letters.  When I mounted it I used pop dots to give the words some dimension and left the black version of the word as a shadow effect which you can see when you are closer to the board.  I put some of my buttons on magnets as well as the flowers.  I printed my calendar smaller so that there is more room on the board to stick up items with magnets.

The original instructions called for one cork board square cut down to fit the cookie sheet.  I found though that because most push pins are longer than conventional tacks that one layer was too shallow; so, I decided to double the cork board.  I inked around the edges with Tim Holtz's Vintage Photo and Crushed Olive on the top piece and affixed the two pieces together. Then to hide the look of the cork board edges I took a length of the same ribbon I used on the cookie sheet at the seams, to wrap all the way around the edges of the cork board.  I took and glued the conventional tacks on the back of flowers with a button center and also to the back of the butterfly.

So when the ladies gathered to work on their cookie sheets they had some different takes on the original idea.  Some of them used Gesso or Mod Podge to create an opaque paint look around the edges and added some color to that.  Others used some clear contact paper to make a white board only with patterned scrapbook paper!  Great variations on the whole idea!  I can see this as a gift for a bride to be or a grandchild with a great variation on the theme, sports for kids or guys, hunting or fishing for men for Father's Day gifts, or maybe even an advent calendar for the holidays!

Here is a look at the complete project.  I punched two holes in the lip of the cookie sheet with my cropadile and added grommets and then threaded the grosgrain ribbon through the grommets and tied at the top.  I'm going to use a wreath holder over the edge of my cube at work to hold the board.

Until next time, Imagine, Create, and Enjoy!


Monday, March 5, 2012

Luggage Tags

Recently while in JC Penny’s with a girlfriend I spotted these really great luggage tags and thought I could scrap lift the idea for making my own version.  Unless you have some really unusual luggage most pieces come in pretty standard colors, black and maybe dark blue or green.  When there are 100 plus pieces of luggage coming around the luggage carousel at the airport it is sometimes problematic to immediately identify your bag.  I usually try to put some colored ribbon or yarn around the handle to easily identify my bags.  When I saw this idea I decided to make some new ones.  I used my Tags, Bags, Boxes and More Cricut cartridge and chose a tag style and then used my Cricut Design Studio to arrange four tags within a  8 ½ by 11 page size.  In a Word document I typed the sentiments from the tags I had seen using different font styles and sizes.  When I typed them up I utilized the same orientation on the tags text as was on the original tags I saw in the store. 

Since I wanted the tags to be easily spotted, I chose bright orange for the text side and a pretty floral pattern from a Susan Winget pad of papers.  Once I determined the correct layout of the sentiments in a Word document I printed it on an 8 ½ by 11 inch piece of paper and then cut it with the Cricut.  This helped me fine tune adjustments to the location of the tags on the page with the location of the words on the page.  Once I had that done I printed the words on orange card stock and cut a matching set of tags on the floral paper.  On the back of the floral tag I added some labels with our names and city we live in and our cell phone numbers in case they got lost.  I ran the tags through my Xyron machine with adhesive on one side and laminate on the other and then backed the printed orange tag and the floral tag together.  I then had some orange and yellow ribbon with butterflies on it which I ran through the tag opening.  I think they turned out pretty darn cute and they were easy to spot when they came around the luggage carousel.
Until next time, Imagine, Create, Enjoy!

Monday, January 16, 2012

Birthday Gift Card Holders

Well the holiday's are over and the new year begun and now starts the rounds of birthday cards, and I'm just talking about my family!  This month we start out with a niece and a nephew just a week apart.  During the Thanksgiving weekend sale I picked up a new pocket die from Sizzix on a deal I just couldn't pass up, about 70% off.  I loved the original selling point of the die which was for Christmas gift cards.  Unfortunately, I didn't get around to making any of those for the holidays.  It is an extended die which required an extended crease pad which I could not find anywhere in town so had to send away for it.  Since I didn't get that ordered until after Christmas, I decided to use the die for my upcoming birthday gifts.  The first ones are for guys, I had some rock star paper and some paper with guitars on it by Best Creation, Inc., what a perfect paper background for a guy gift card.  The paper with the guitars I used for the one of the holders didn't require much additional embellishment as it was glittered up, so I just added a party hat from my Doodlecharms Cricut cartridge in complimentary colors.  Since the embellishment was really a tag, I added a sparkly silver brad on one and a charcoal black on the other one.  The only thing to remember when working with paper with lines and a definite pattern direction is to make sure your paper is going in the correct direction when using the die!  I also decided to make a envelope to go with the guitar gift card holder.  It is not one you would be putting in the mail, rather hand delivering it to the recipient.  I used my Plaintain Schoolbook Cricut cartridge and cut the envelope from the rock star paper.  I attached a small tag in the upper left corner to write the recipients name.


I then made a couple more in just solid colored blue and neon green paper.  I used the Happy Birthday embossing folder by Cuttlebug and added the party hat embellishment cut on my Cricut.  On the blue card I spritzed some silver Perfect Pearls to make the paper shiny and to match the silver glitter paper on the back part of the card holder.  I left the green one kinda plain, still embossed and spritzed the hat overlay to give it just a little pop.  I didn't want to go to overboard on the glitzy on these solid colored ones figuring they could be for either a guy or a gal.  If I do use one for a gal, I'll just add a little bling to jazz it up.


For the girls gift card holders I went with some floral papers I had from K&Company, the Susan Winget collection.  I've gotten such a great amount of projects from these paper pads it's just amazing.  For the green one with dragonfly's I added some paper embellishments after embossing the folder with the Happy Birthday folder.  Ont the blue folder I used an embellishment and added a small tag with a little bling.  For the last one I used some of lilies paper from the same pad, added some of the coordinating puffy embellishments and a small lavender tag with a green pearl brad for the recipient's name.


I can see gift cards holders for all sorts of holidays and occasions in my future!  Imagine, Create, and Enjoy!